
Note before starting: Plug in the Wi-Fi router, and connect the network cable from the main modem to the WAN port on the Router. Then, use your phone to connect to the router's default Wi-Fi.
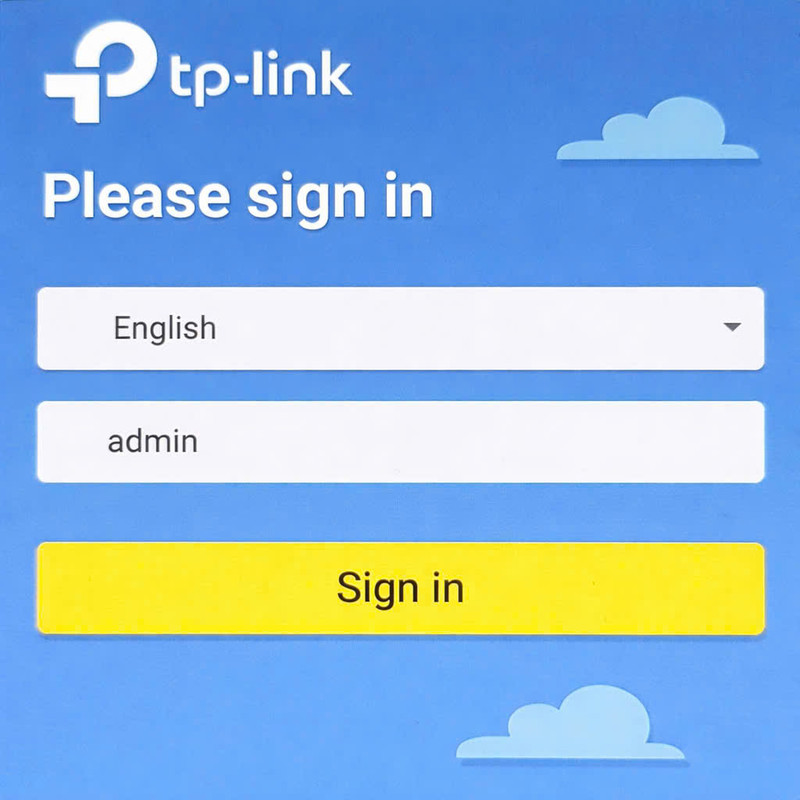
Login to the admin page
Open a web browser (Safari, Chrome...) on your phone.
- Enter in the address bar: 192.168.1.1
- In the password field, enter: admin (lowercase).
Then click the yellow button Sign in.
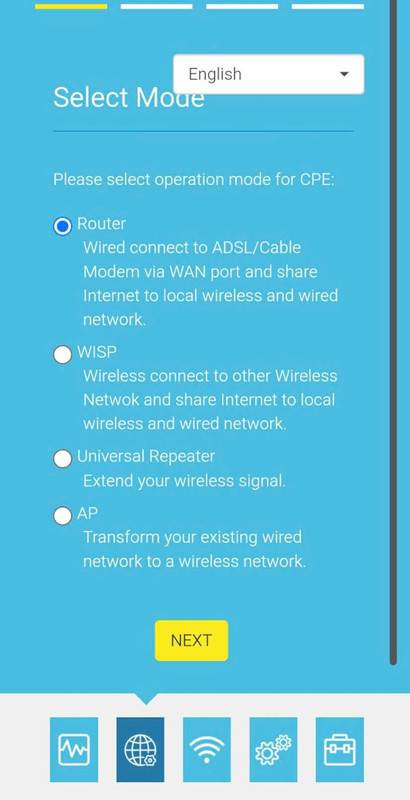
Choose operation mode (Select Mode)
On the next screen, the system will ask you which mode you want the device to operate in.
Please check the top circular box:
◉ Router
After selecting, scroll down and click the yellow button NEXT.
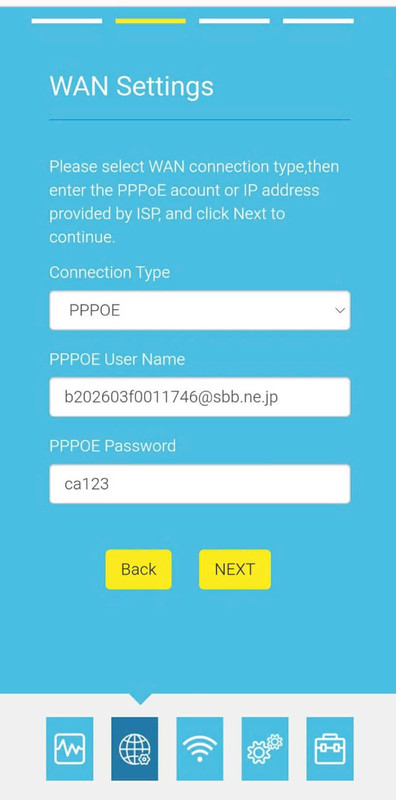
Network setup (WAN Settings)
Open the account paper provided by your network provider (ISP) to fill in here:
- Connection Type: Select PPPOE
-
PPPOE User Name: Enter the ID from your paper.
(Example: b202... @sbb.ne.jp) -
PPPOE Password: Enter the accompanying password.
(Note: Be sure to use the correct uppercase and lowercase letters)
After filling it out, click the NEXT button.
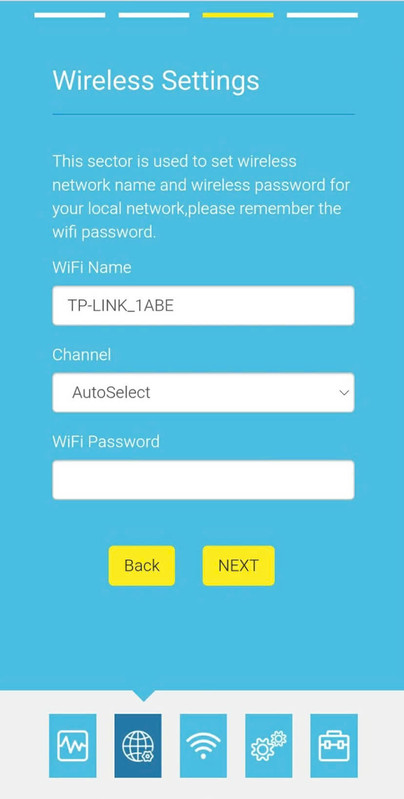
Change Wi-Fi Name & Password
This is the step for you to set a new name and password for your home Wi-Fi router.
- WiFi Name: Enter the Wi-Fi name you want to display.
- Channel: Leave as is (AutoSelect).
- WiFi Password: Enter the new Wi-Fi password (at least 8 characters).
Click the NEXT button to continue.
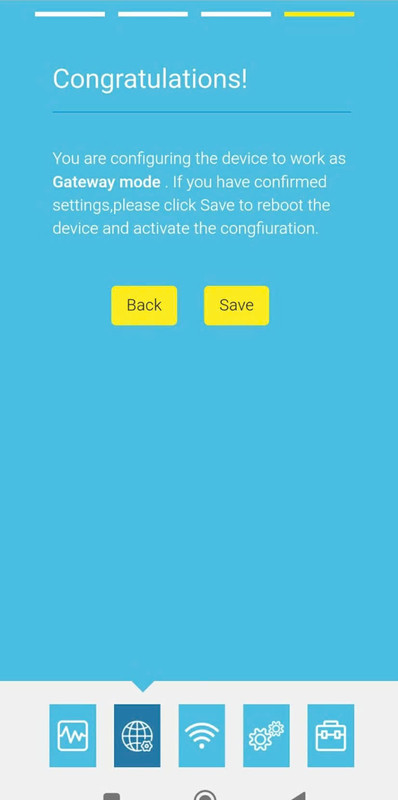
Finish (Congratulations!)
You have finished configuring! Now just click the save button for the router to apply the settings.
Click the Save button
After clicking Save, the router will automatically restart. Wait about 1-2 minutes, go to the Wi-Fi settings on your phone, find the new Wi-Fi name you just set in Step 4, and enter the password to use the internet.
Congratulations on your successful setup!
Experience high-speed web browsing right away.