ELECOM Router Setup Guide
ELECOM Setup
Start Setup

Network Setup Guide PPPoE

Set up your ELECOM router easily in 4 steps. Please prepare the account and password provided by your internet service provider.

1

Log in to the administration page

First, make sure you are connected to the WiFi named "elecom".

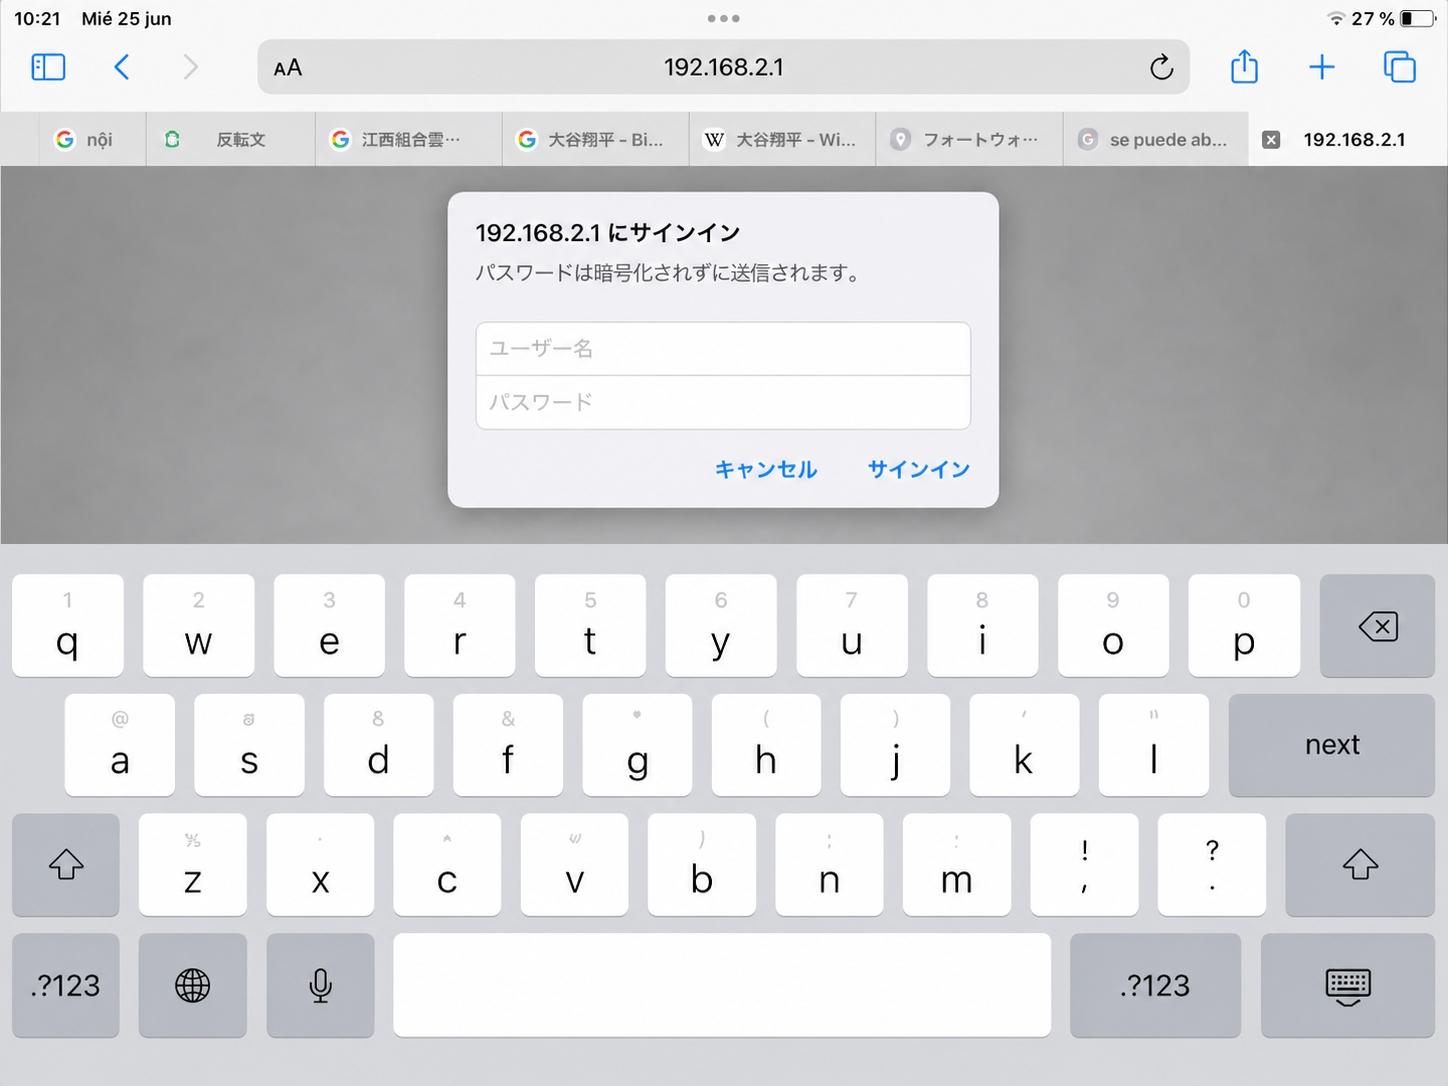
Next, open your web browser (Chrome, Safari...) and type the address 192.168.2.1 into the address bar.

When the prompt appears: in the first field (Username), type admin, and in the password field, type the characters usually printed on the sticker under your ELECOM router.

Illustration: Step 1
192.168.2.1 login screen
2

Select WAN & LAN settings

After successfully logging in, you will be taken to the blue main screen (HOME).

Here, find and click the green block on the right with the globe icon and the text "WAN & LAN".

Illustration: Step 2
Selecting WAN and LAN on HOME screen
3

Switch to PPPoE mode

In the WAN settings interface, find the line with the text "WANアクセスタイプ :" (WAN access type).

By default, this is in "自動判定" (Auto-detect) mode. Click the blue text to open the list and select "PPPoE".

Illustration: Step 3
Selecting PPPoE mode
4

Enter account and Apply

The screen will display new input fields:

  • ユーザー名 (Username): Enter your network ID.
  • パスワード設定 (Password): Enter your network password.

(Note: This ID and Password are provided by your Internet Service Provider, not the WiFi password.)

After filling it out, scroll to the bottom and click the orange button that says "適用" (Apply).

Finally, open the YouTube app to check if the device has successfully connected to the network!

Illustration: Step 4
Entering PPPoE information and applying

© 2024 - Local Network Setup Guide