Buffalo Router Setup Guide
Company Logo Buffalo Setup

Network Connection Guide Buffalo Router

Setting up your Buffalo router is easy with just a few simple steps on your phone or computer.

1

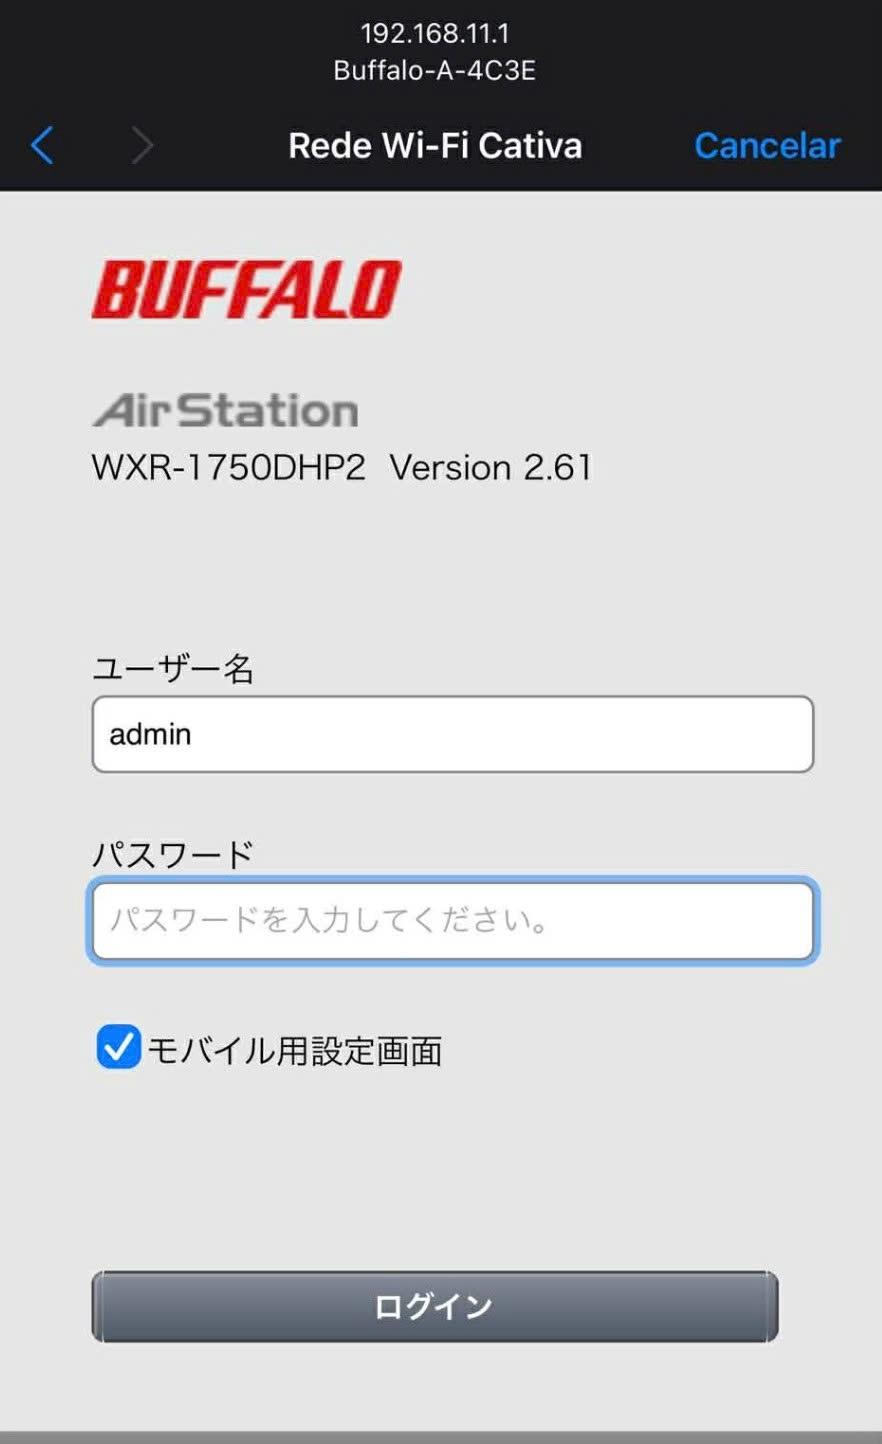
Connect and Access the Administration Page

First, make sure your device is connected to the Buffalo router's WiFi:

  • Open WiFi Settings on your phone/computer and connect to the WiFi network named Buffalo.
  • Open a web browser (Chrome or Safari).
  • Enter the following IP address into the search bar and press Go/Enter:
    192.168.11.1

Use Chrome or Safari

2

Log in to the system

The Buffalo AirStation login screen will appear. Enter the following information:

  • ユーザー名 (Username):
    Type admin
  • パスワード (Password):
    Type password
Note: If typing "password" does not work, check the bottom of the router and enter the administrator password printed on the sticker.

After filling it out, click the ログイン (Login) button.

Illustration
Buffalo Login Screen
3

Enter Network Provider Information

The provider information settings (プロバイダー情報の設定) screen will appear. Take the documents from your network provider and fill in the following information:

  • 接続先ユーザー名 (Connection Username):
    Enter your network ID. Note: This screen splits the ID into 2 fields separated by an @. Enter the first part in the left field, and the last part (after the @) in the right field.
  • 接続先パスワード (Connection Password):
    Enter the password that comes with the ID in your contract.

Leave other settings unchanged, scroll down to the bottom, and click the 進む (Proceed) button.

Done! Wait for about 1-2 minutes for the router network to restart, then open the YouTube app to check if you have internet access!

Illustration
Buffalo PPPoE Account Entry Screen

© 2024 - Local Network Setup Guide (Buffalo Router)